Step-by-Step Installation of Phenolic Insulation Board for Superior Energy Efficiency
2025-08-16 02:57:24
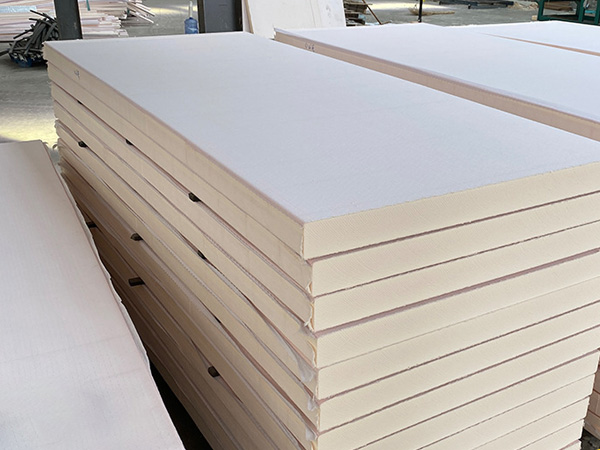
Improving your building’s insulation is one of the most effective ways to cut down on heat loss, reduce energy bills, and enhance indoor comfort. Phenolic Insulation Board is a high-performance option that stands out for its exceptional thermal resistance, durability, and moisture protection.
In this guide, you’ll learn how to install it correctly, ensuring you maximize its benefits for the long term.
Advantages of Phenolic Insulation Board
Before starting the installation process, it’s worth highlighting why Phenolic Insulation Board is such a preferred choice:
·Outstanding Thermal Efficiency – Its low thermal conductivity keeps heat in during winter and out during summer.
·Moisture Control – Helps protect structures from dampness and mold growth.
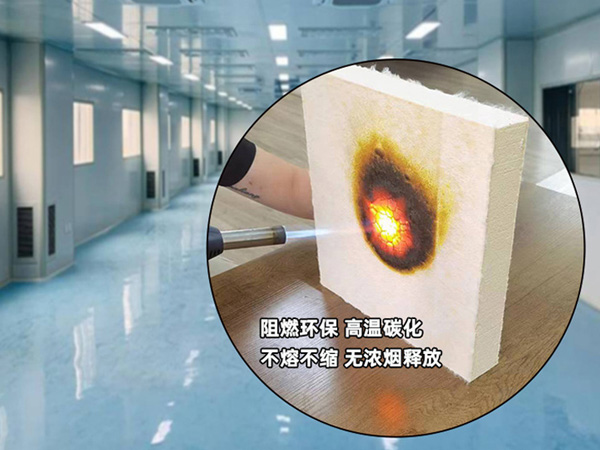
·Enhanced Fire Resistance – Provides improved safety compared to many common insulation types.
·Long-Term Stability – Maintains performance for many years without significant deterioration.
These qualities make it ideal for walls, ceilings, floors, and even certain external applications.
Required Tools and Materials
To complete the installation smoothly, gather:
·Phenolic Insulation Board (cut to size as needed)
·Measuring tape
·Utility knife or insulation saw
·Straight edge or ruler
·Adhesive designed for insulation panels
·Mechanical fixings (if applicable)
·Protective gloves, goggles, and mask
·Foil tape or joint sealant
Step 1: Prepare the Work Area
Preparation is key to a successful installation:
1.Clean the surface – Remove debris, old insulation, or dust.
2.Check for dampness – Ensure the surface is dry before fitting the boards.
3.Smooth uneven spots – Fill holes and level out bumps for a solid foundation.
A clean, even surface ensures the Phenolic Insulation Board adheres properly and performs optimally.
Step 2: Measure and Mark
Accurate measuring prevents fitting issues later:
1.Measure carefully – Double-check dimensions before cutting.
2.Mark with precision – Use a straight edge to draw clean, straight lines.
3.Plan your layout – Reduce waste by positioning cuts strategically.
Step 3: Cut the Boards
For a neat finish:
·Use a sharp utility knife or fine-tooth insulation saw.
·Cut slowly to avoid rough edges.
·Keep cuts straight to ensure boards fit tightly together.
Gaps can allow heat to escape, so precision is crucial.
Step 4: Position the Boards
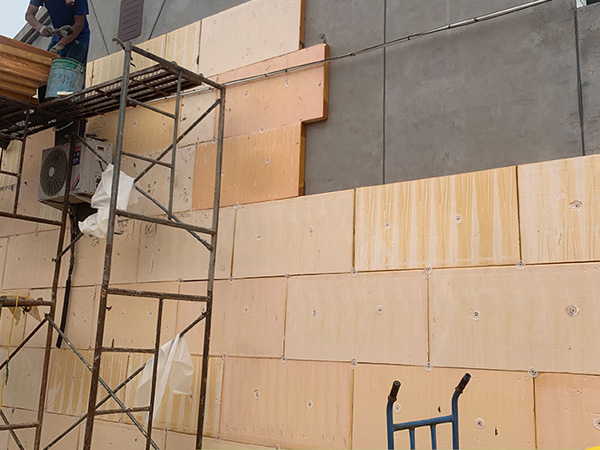
Place the Phenolic Insulation Board onto the prepared surface:
·Begin in one corner and work outward.
·Press each board firmly into place.
·Stagger vertical joints to improve insulation continuity.
Step 5: Fix in Place
Choose your fixing method based on the surface:
·Adhesive – Spread evenly or apply continuous beads before pressing the board in place.
·Mechanical fixings – Ideal for ceilings or external walls needing extra support.
For maximum hold, many installers combine adhesive and mechanical fixings.
Step 6: Seal the Joints
Even small gaps can reduce performance, so sealing is essential:
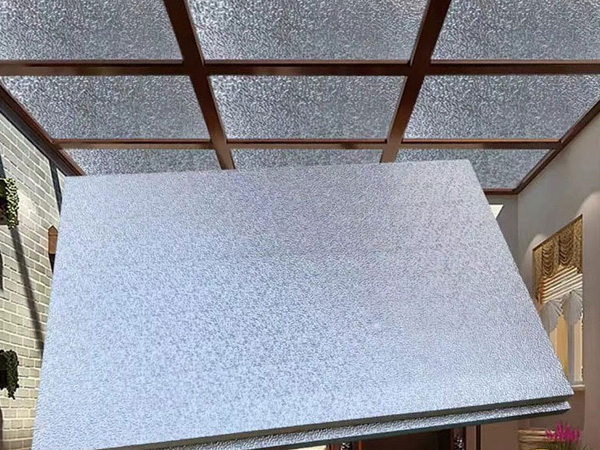
·Apply foil tape over all seams.
·Use a compatible sealant for any small gaps or irregular joints.
·Ensure there are no exposed edges that could allow air leakage.
Sealing helps maintain both the thermal and moisture barrier properties.
Step 7: Final Layer and Finish
Depending on your project:
·Install a vapor control layer if required by regulations.
·Add drywall, cladding, or finishing materials over the insulation.
·Recheck all sections to ensure boards are secure and joints remain sealed.
Ongoing Care
Once installed, Phenolic Insulation Board needs little attention:
·Inspect occasionally for damage, especially after leaks or renovations.
·Keep it dry to prevent reduced effectiveness.
·Replace or repair damaged areas promptly.
Conclusion
Installing Phenolic Insulation Board correctly is an investment in comfort, energy efficiency, and building longevity. With careful preparation, precise measuring, and secure fixing, you’ll create a high-performing insulation layer that works year-round.
By following these steps, you can enjoy reduced energy bills, better indoor comfort, and peace of mind knowing your property is protected from heat loss, moisture, and fire risks.
References
GB/T 7714:Materials for energy efficiency and thermal comfort in buildings[M]. Elsevier, 2010.
MLA:Hall, Matthew R., ed. Materials for energy efficiency and thermal comfort in buildings. Elsevier, 2010.
APA:Hall, M. R. (Ed.). (2010). Materials for energy efficiency and thermal comfort in buildings. Elsevier.
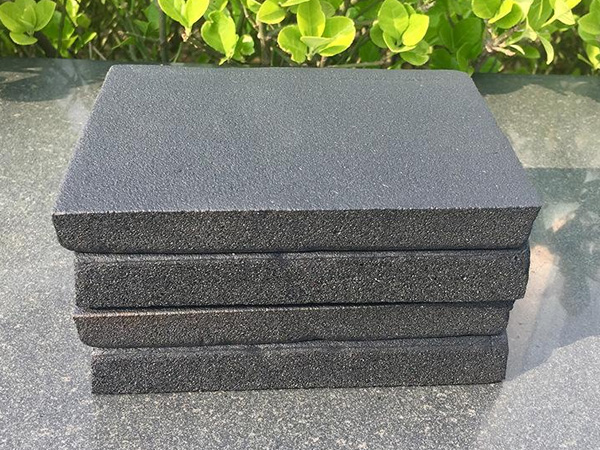
OurFlame Retardant Rubber Foamis a premium closed-cell elastomeric insulation material engi...
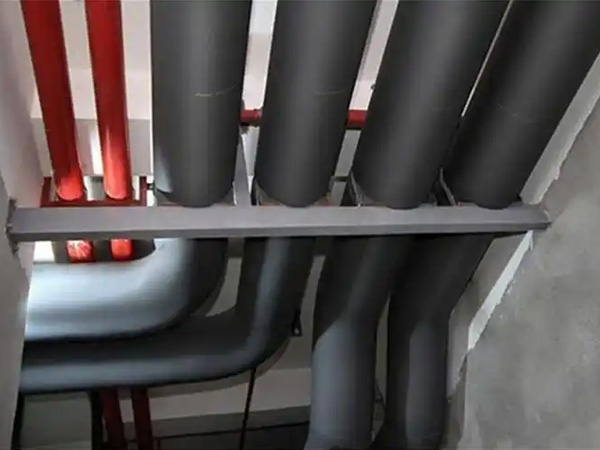
OurRubber Pipe Insulationis a high-performance solution designed specifically for HVAC pipi...
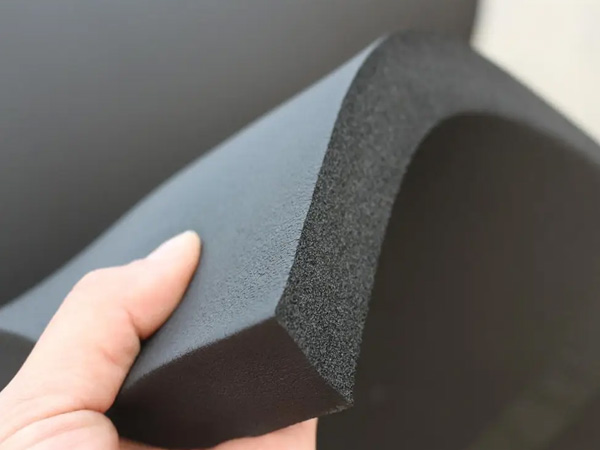
Rubber Foam Insulation Sheet – Product Introduction Premium Flexible Insulation for Therm...
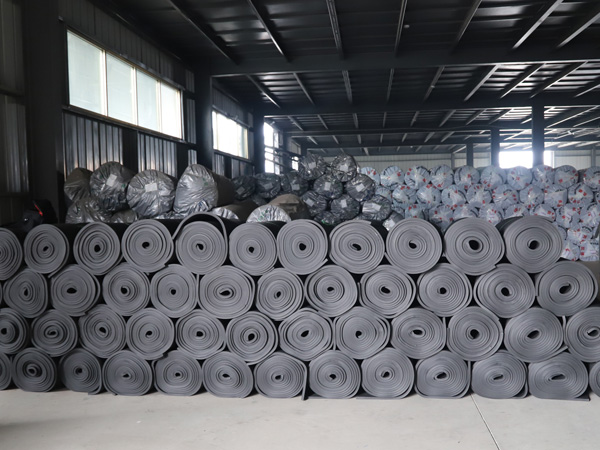
Specially engineered for refrigeration applications, ourElastomeric Rubber Insulationprovid...


