Installation Steps of Phenolic Insulation Board in Building Facade Insulation
2025-08-07 01:24:30
Why Choose Phenolic Insulation Board for Facade Insulation?
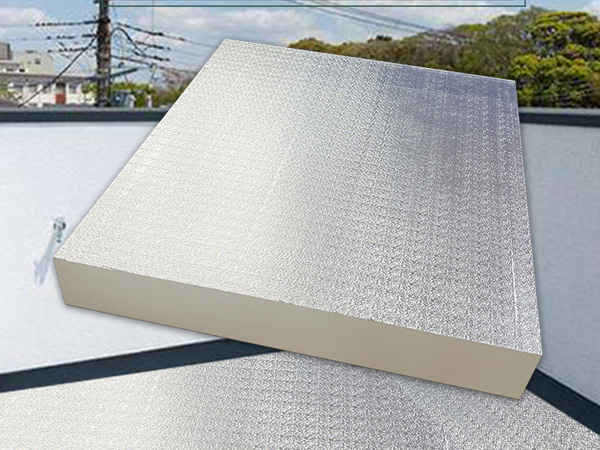
When it comes to exterior wall insulation, the choice of material determines not only energy efficiency but also fire resistance, moisture performance, and durability. Among many available solutions, Phenolic Insulation Board stands out as a premium, high-performance product known for its ultra-low thermal conductivity and excellent fire resistance.
Unlike conventional EPS or XPS insulation, Phenolic Insulation Boards offer a more stable structure, thinner profile for the same insulation value, and non-combustible properties. Whether you're working on residential, commercial, or industrial buildings, understanding the correct installation process is crucial to fully maximize its benefits.
Let’s break down the complete installation steps for Phenolic Insulation Boards in facade applications.

1. Site Preparation and Substrate Inspection
Before installing Phenolic Insulation Board, preparation of the wall surface is critical:
Ensure the wall is flat, dry, and clean. Remove any dust, oil, grease, or protrusions.
Repair cracks or uneven surfaces. Uneven substrates can cause misalignment and reduce adhesive effectiveness.
Apply bonding test patches in advance to assess the strength between the substrate and the adhesive.
Tip: For old buildings, consider applying a primer or sealing agent to improve adhesion.
2. Layout Planning and Measurement
Accurate measurement and layout improve not only aesthetics but also thermal performance:
Measure the wall dimensions and plan the board placement to minimize cuts and waste.
Mark control lines horizontally and vertically to ensure alignment and flatness.
Start installation from the bottom corner, usually from the base course near the plinth.
This layout step is essential to ensure uniform load distribution and board staggering.
3. Adhesive Application
Proper bonding is the backbone of insulation performance:
Use phenolic board-compatible adhesives (typically cement-based polymer adhesives).
Apply adhesive using either the “dot and perimeter” method or full-surface coverage.
Adhesive should be applied to cover at least 40–60% of the board's backside to ensure effective adhesion and wind resistance.
Avoid excessive adhesive to prevent bulging or misalignment during curing.
4. Board Installation
Now it’s time to fix the Phenolic Insulation Board to the wall:
Press each board firmly onto the surface following your alignment marks.
Stagger vertical joints (brick pattern) between rows to improve structural integrity.
Ensure tight joints between boards. Use shims or spacers if necessary.
Check flatness frequently using a 2-meter level or straight edge.
5. Mechanical Fixing (Anchor Bolts)
After the adhesive cures (typically 24 hours), install mechanical fasteners for extra security:
Use approved insulation anchors (minimum 4–6 per m² depending on wind load).
Position anchors at least 5–7 cm from board edges.
Countersink anchor heads slightly into the board surface to avoid thermal bridging.
This step ensures durability and wind-load resistance, especially in high-rise buildings.
6. Joint Treatment and Surface Smoothing
Before applying the basecoat:
Fill all gaps or seams with low-expansion PU foam or suitable filler.
Smooth out surface irregularities using sanding blocks or rasping tools.
Remove any excess material to create a continuous, level surface.
This helps create a seamless thermal envelope and improves basecoat adhesion.
7. Reinforced Basecoat Application
The basecoat serves as a protective and bonding layer:
Apply a polymer-modified cementitious basecoat over the Phenolic Insulation Board.
Embed alkali-resistant fiberglass mesh into the wet basecoat (overlapping 10 cm between sheets).
Smooth out the surface with a steel trowel, ensuring mesh is centered within the coating.
Allow 48–72 hours of curing time before finishing layers.
8. Finish Coating (Optional)
Depending on project requirements, apply:
Acrylic or silicone-based topcoat render
Paint or decorative finishes with UV and weather resistance
Choose breathable coatings to prevent moisture entrapment.
Why Phenolic Insulation Board Is the Smarter Choice
Ultra-low thermal conductivity: As low as 0.018 W/m·K
Superior fire resistance: Rated Class B or better
Moisture resistance: Closed-cell structure blocks water ingress
Thinner thickness, same insulation: Saves wall space and increases floor area
Long service life: Retains performance for decades with minimal aging
Unlike competing materials like polyurethane or EPS, Phenolic Insulation Board performs better under fire exposure and aging. It offers a comprehensive solution for energy efficiency, safety, and long-term reliability.
Conclusion: Precision Installation Means Lasting Performance
Whether you’re insulating a new building or retrofitting an older one, the installation process of Phenolic Insulation Board determines the ultimate energy efficiency, safety, and durability of your project.
From surface preparation to finish coating, each step must be executed carefully and in line with manufacturer recommendations. Compared to alternative insulation materials, Phenolic Insulation Boards offer outstanding performance with thinner profiles, making them ideal for modern energy-efficient construction.
References
GB/T 7714:Lu G Z, Chen X N, Zhou L J, et al. Study on modified phenolic foam for Insulation of building's exterior wall[C]//3rd International Conference on Mechatronics, Robotics and Automation. Atlantis Press, 2015: 73-78.
MLA:Lu, Guo-Zhong, et al. "Study on modified phenolic foam for Insulation of building's exterior wall." 3rd International Conference on Mechatronics, Robotics and Automation. Atlantis Press, 2015.
APA:Lu, G. Z., Chen, X. N., Zhou, L. J., Ding, X. J., & He, J. T. (2015, April). Study on modified phenolic foam for Insulation of building's exterior wall. In 3rd International Conference on Mechatronics, Robotics and Automation (pp. 73-78). Atlantis Press.
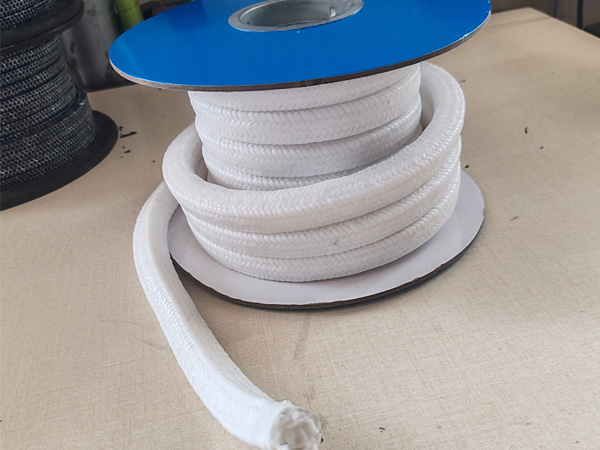
PTFE Packing is a sealing material made from pure polytetrafluoroethylene fibers through a ...
It is made from aramid fibers and black PTFE by a special mixed weaving process. High-stren...
PTFE packing can be classified into aramid blended black PTFE packing, white PTFE packing, ...
PTFE Packing is a sealing material made from pure polytetrafluoroethylene fibers through a ...