Elastomeric Foam Installation Process
2025-06-18 15:41:02
1. Pre-Installation Preparation
Surface Inspection: Verify substrates are clean, dry, and free of oil, dust, or loose particles.
Material Handling: Store foam boards horizontally in a shaded area to prevent warping or UV degradation.
Tool Setup: Prepare sharp utility knives, straightedges, rollers (for adhesive), and seam sealants.
2. Measurement & Cutting
Precision Marking: Use a marker and straightedge for accurate measurements.
Cutting Technique:
For straight cuts, score deeply and snap.
For curves, make small relief cuts to avoid wrinkling.
Template Use: For complex shapes (elbows, valves), create cardboard templates before cutting foam.
3. Adhesive Application
Contact Adhesive Method: Apply evenly on both the substrate and foam using a notched trowel (3-5mm teeth).
Open Time: Allow adhesive to become tacky (5-10 minutes) before bonding.
Alternative: Self-adhesive foam boards eliminate glue but require firm pressing.
4. Installation & Sealing
Flat Surfaces (Walls, Ducts):
Press foam firmly onto the substrate, rolling outward to remove air pockets.
Stagger joints to avoid continuous seams.
Pipes & Curved Surfaces:
Use pre-slit tubes or wrap sheets snugly.
Seal longitudinal seams with butyl tape.
Joints & Edges: Apply compatible sealant (silicone or elastomeric) for watertight closure.
5. Mechanical Fastening (If Required)
Fastener Types: Use corrosion-resistant screws, washers, or plastic anchors.
Spacing: Secure edges every 300mm and field areas every 600mm.
Avoid Over-Tightening: Compression should not exceed 25% of foam thickness.
6. Finishing & Protection
Vapor Barrier Integration: Install foil or membrane facing if required for high-humidity areas.
UV Protection: For outdoor exposure, cover with metal/PVC jacketing or UV-resistant coatings.
Impact Zones: Add protective layers (e.g., fiberglass mesh) in high-traffic areas.
7. Quality Control
Bond Check: Perform pull tests on sample areas (≥150kPa adhesion strength).
Thermal Imaging: Scan for voids or gaps using infrared cameras.
Visual Inspection: Ensure no exposed edges or unsealed joints remain.
8. Post-Installation
Curing Time: Allow 24–48 hours before exposing to moisture or mechanical loads.
Maintenance: Schedule annual inspections for seam integrity and surface damage.
Pro Tip: In cold climates (<5°C), use winter-grade adhesives and temporary enclosures to ensure proper curing. For large projects, pre-fabricate insulated modules to reduce on-site labor.
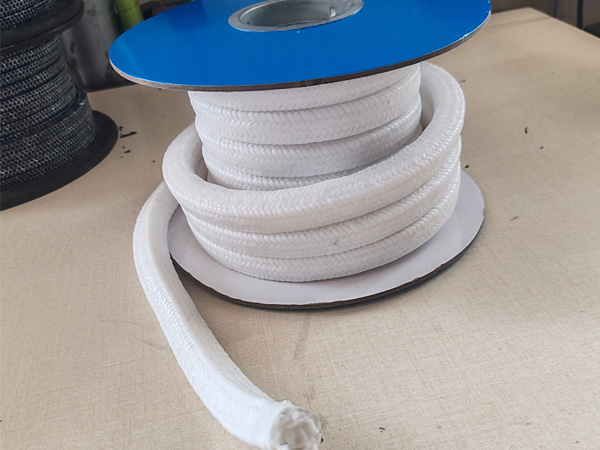
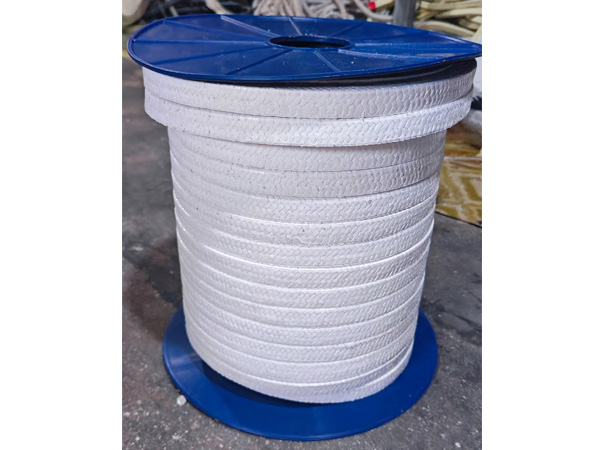
PTFE Packing is a sealing material made from pure polytetrafluoroethylene fibers through a ...
It is made from aramid fibers and black PTFE by a special mixed weaving process. High-stren...
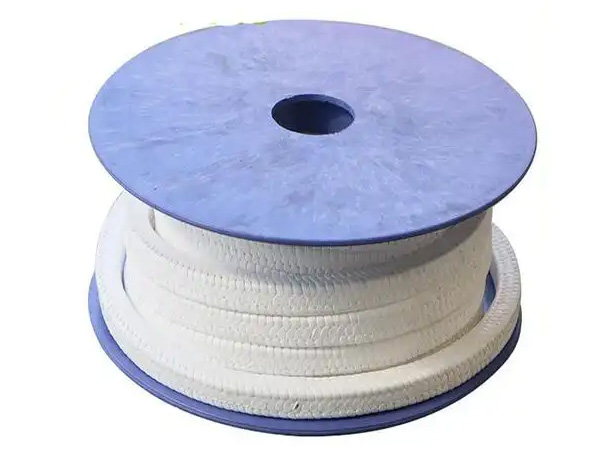
PTFE packing can be classified into aramid blended black PTFE packing, white PTFE packing, ...
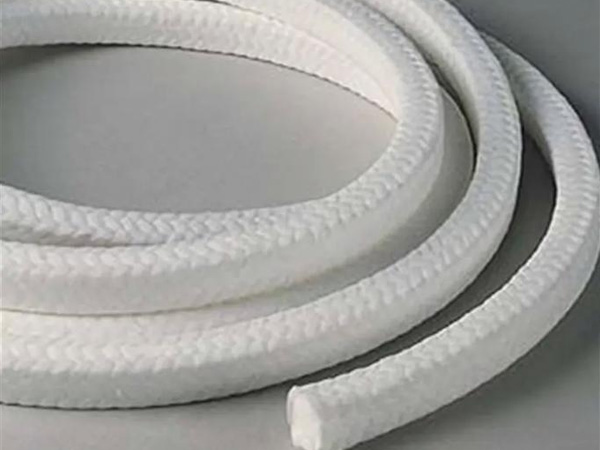
PTFE Packing is a sealing material made from pure polytetrafluoroethylene fibers through a ...